Introduction
Today, I want to share what I learned in my NCA class about TouchDesigner.
This was my first time exploring this tool, and I found it quite challenging but also very exciting!
In this post, I'll walk through the steps from downloading TouchDesigner to creating an interactive visual effect using nodes.
1. Downloading and Installing TouchDesigner
Before we dive into the creative process, let's start by installing TouchDesigner on your system.
Step 1: Download TouchDesigner
- Visit the official TouchDesigner website: https://derivative.ca/
- Navigate to the Download section.
- Choose the appropriate version for your operating system (Windows or macOS).
- If you're new to TouchDesigner, download the non-commercial version (which is free and has most of the essential features).
Step 2: Install and Launch
- Open the downloaded file and follow the installation instructions.
- Once installed, launch TouchDesigner and sign in with your Derivative account.
- Create a new project to start experimenting!
2. Understanding the TouchDesigner Interface
When you open TouchDesigner, you'll see a node-based interface where different nodes (operators) are connected to create visual effects. The key components are:
- TOPs (Texture Operators): Used for working with 2D images and effects.
- CHOPs (Channel Operators): Handles motion, sound, and animation data.
- SOPs (Surface Operators): Deals with 3D geometry.
- DATs (Data Operators): Used for working with text and scripts.
- MATs (Material Operators): Assigns materials to 3D objects.
Since we are working with visual effects, our focus will be on TOPs and CHOPs.
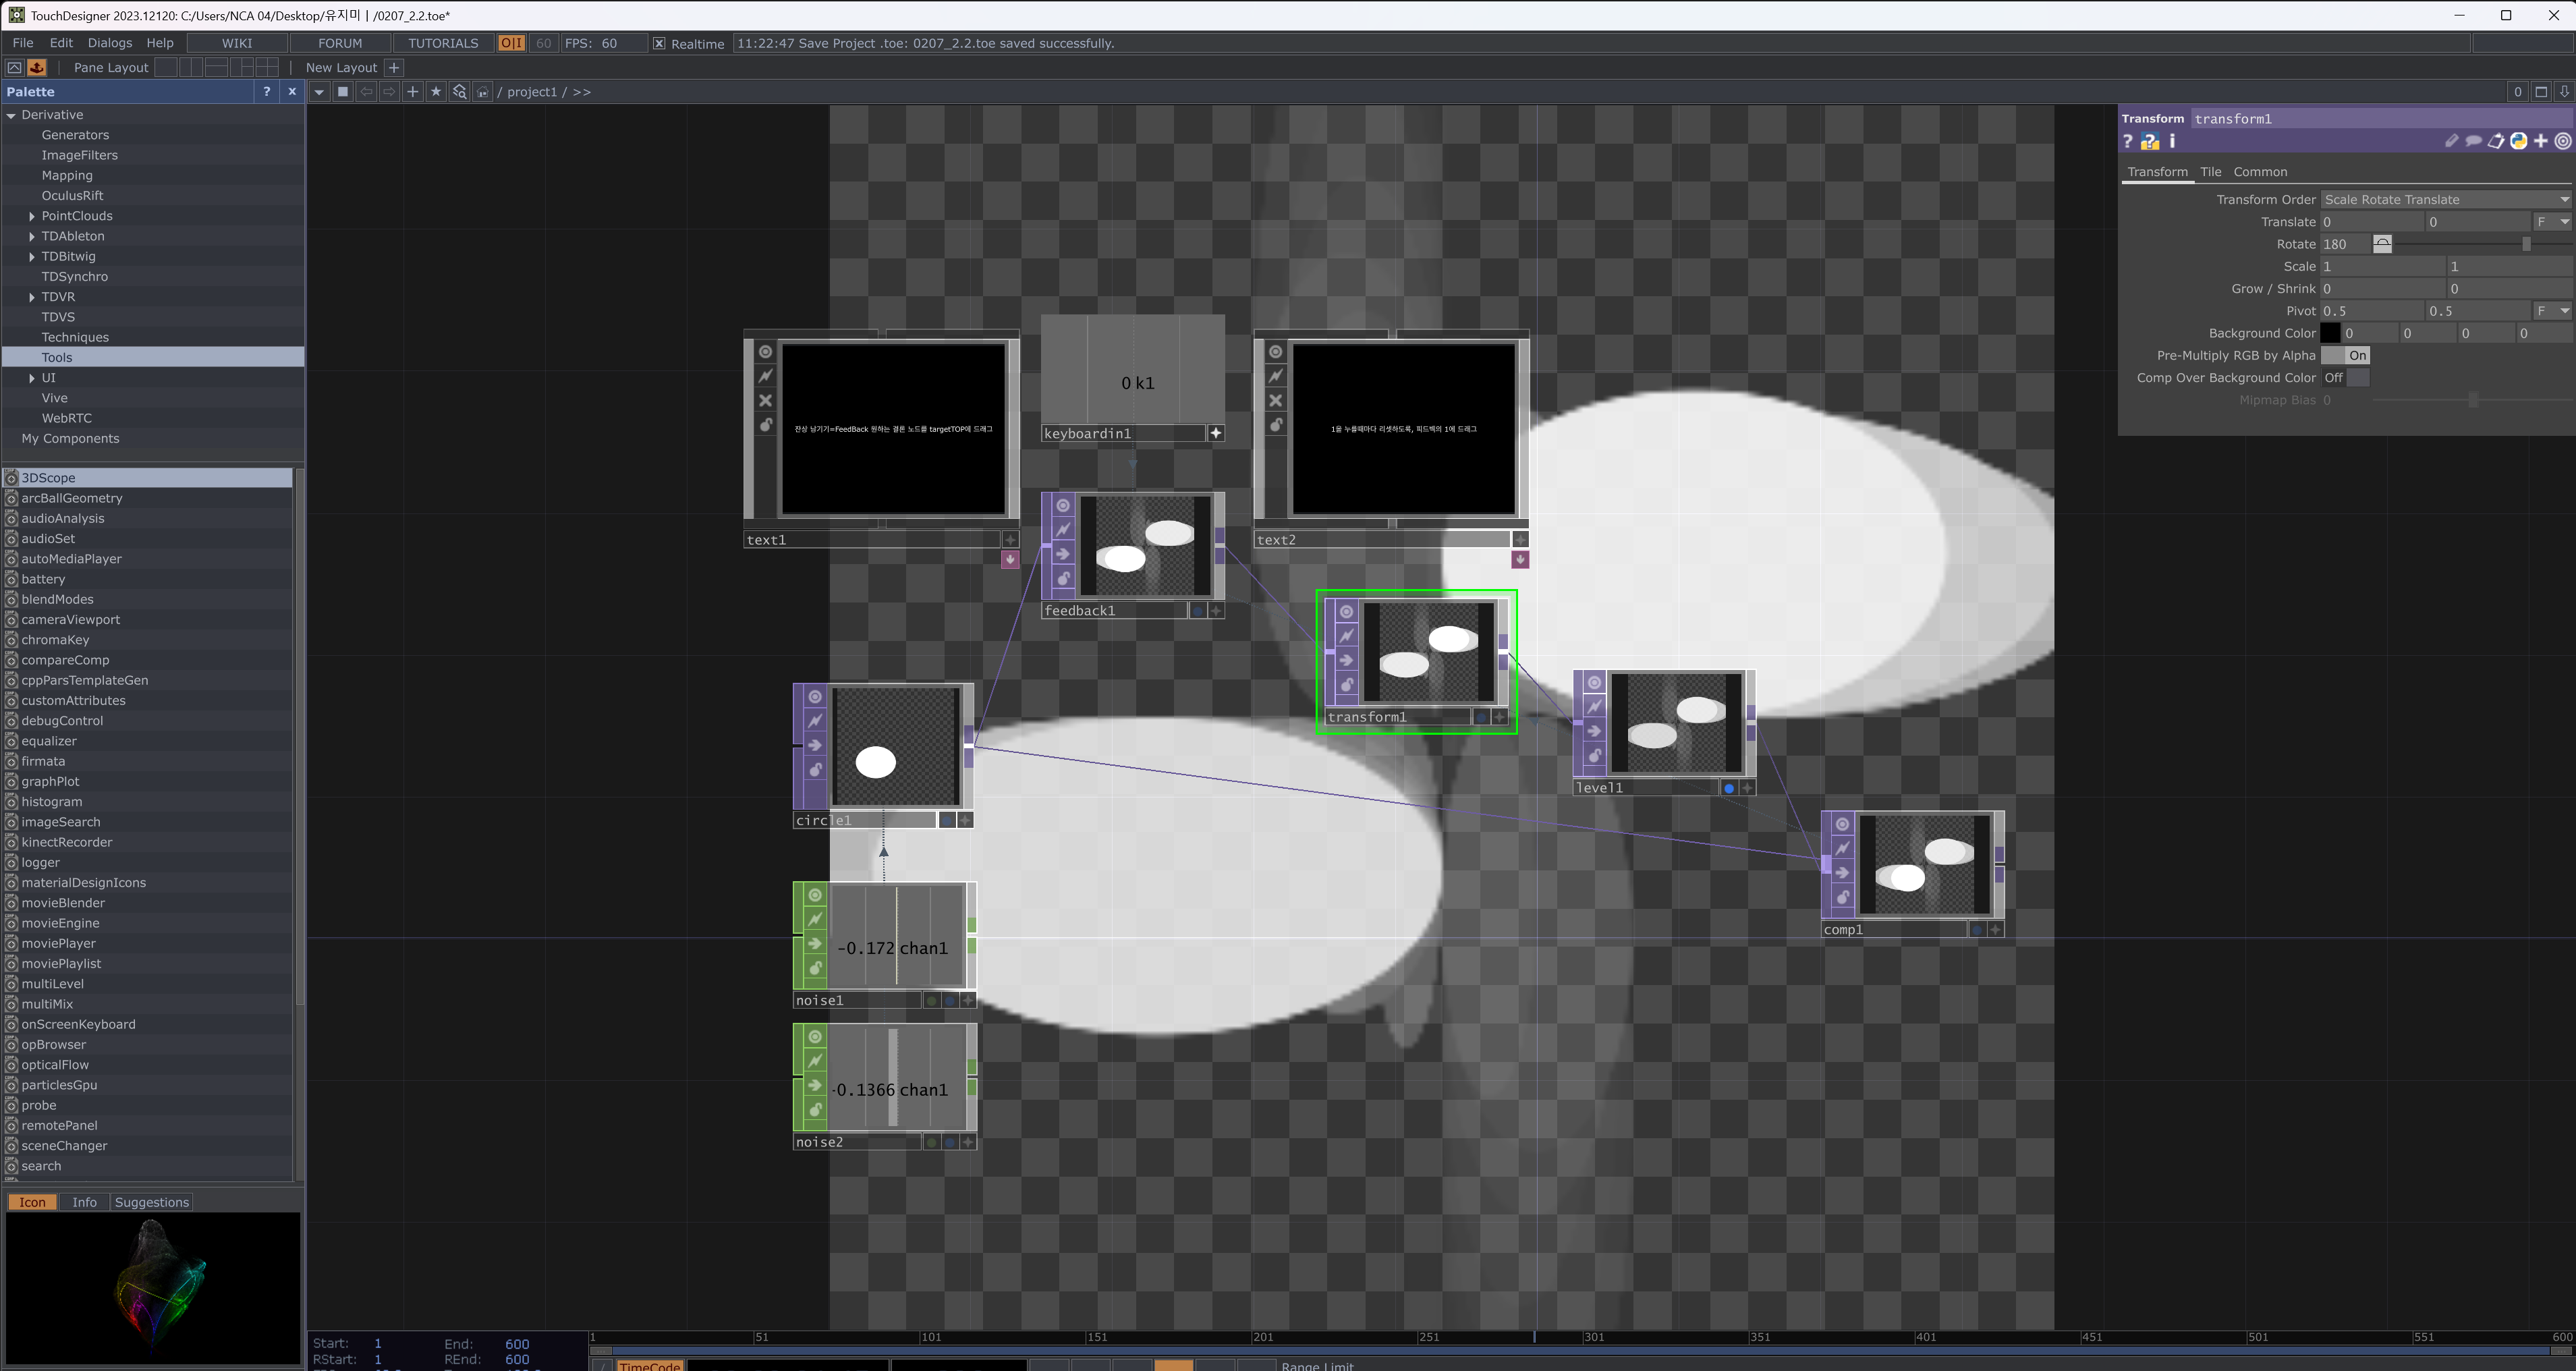
3. Building an Interactive Visual Effect
Now, let's create an interactive project using nodes. Our goal is to generate dynamic circle patterns, apply transformations, and introduce random noise movements using CHOPs.
Step 1: Creating a Circle
- Add a Circle TOP by pressing Tab and selecting Circle.
- This creates a simple white circle on a transparent background.
Step 2: Adding Noise for Random Movement
- Press Tab and add a Noise CHOP.
- This node generates random values that can be used for motion.
- Connect it to other nodes to modify properties dynamically.
Step 3: Applying Transformations
- Add a Transform TOP to rotate and move the circle.
- Adjust parameters such as:
- Translate to move the shape.
- Rotate to spin the shape.
- Scale to resize it dynamically.
Step 4: Implementing Feedback for Motion Trails
- Add a Feedback TOP to create a trailing effect.
- This stores the previous frame and blends it with the current frame.
Step 5: Combining Elements
- Use a Composite TOP to merge multiple elements.
- Experiment with different blend modes (e.g., Add, Multiply) to see how the visuals interact.
Step 6: Adding Keyboard Input
- Add a Keyboard In CHOP to detect keypresses.
- Connect it to a Text TOP to display text dynamically based on input.
Did you enjoy this tutorial?
Let me know in the comments if you have any questions or if you want to see more TouchDesigner experiments! 😊